1. Understanding Common AC Problems
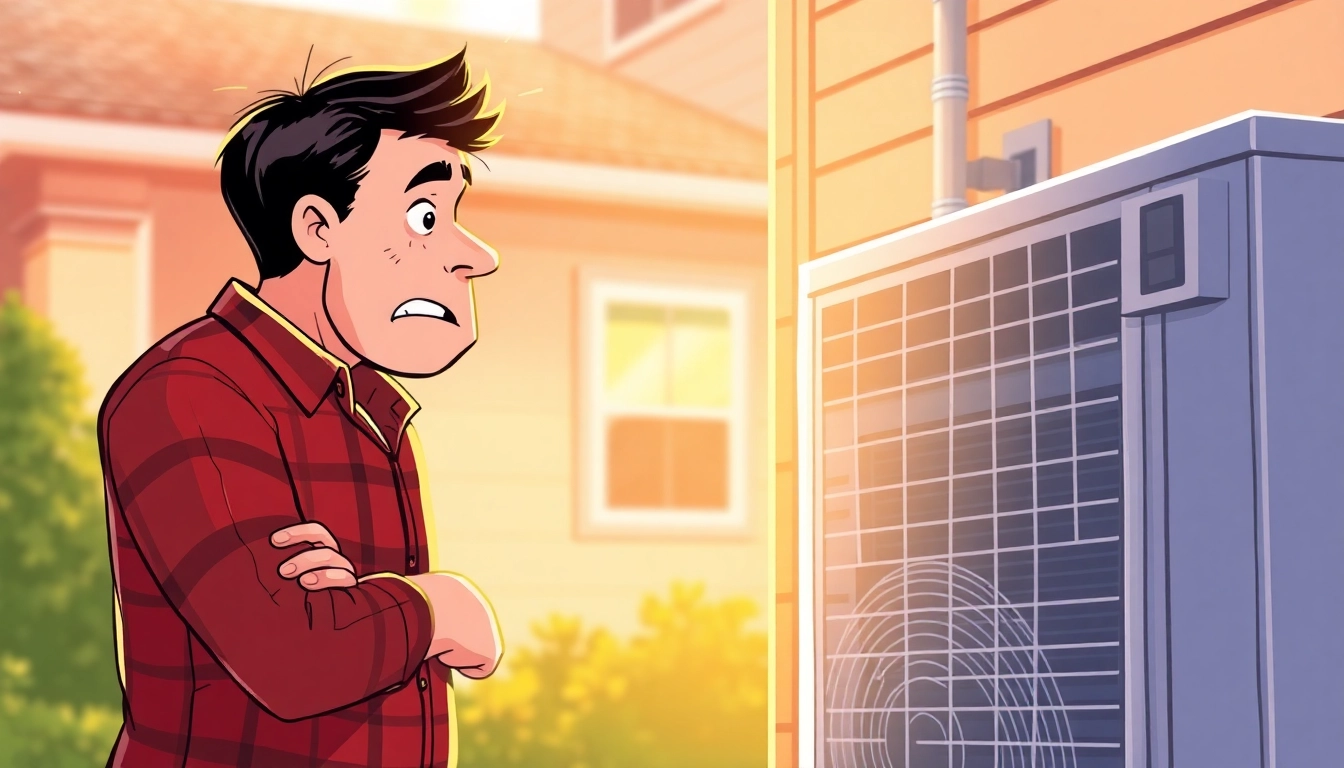
When you come home to discover that my air con is not working, it can be frustrating and uncomfortable, especially during the peak summer months. Understanding the underlying issues that can affect your air conditioning unit not only helps you troubleshoot effectively but also prepares you to seek professional help when needed. Below, we delve into some of the common problems associated with air conditioning systems.
1.1 What to Check First When My Air Con is Not Working
Before delving into complex issues, there are basic checks you can perform to observe whether the problem is something simple by reviewing the following:
- Thermostat Settings: Ensure the thermostat is set to “cool” and at a temperature lower than the current room temperature. Sometimes, a simple adjustment is all that’s needed.
- Power Supply: Check if the air conditioning unit is actually receiving power. Examine circuit breakers or fuses to see if they have tripped or blown.
- Air Filters: Many problems can stem from clogged or dirty air filters. If they are blocked, replace them since they can drastically affect airflow and efficiency.
1.2 Common Causes of Air Conditioning Failures
Several factors can lead to a malfunctioning air conditioning system. Here are some fundamental reasons:
- Refrigerant Issues: Low refrigerant levels due to leaks can prevent your system from cooling effectively and should be handled by a professional.
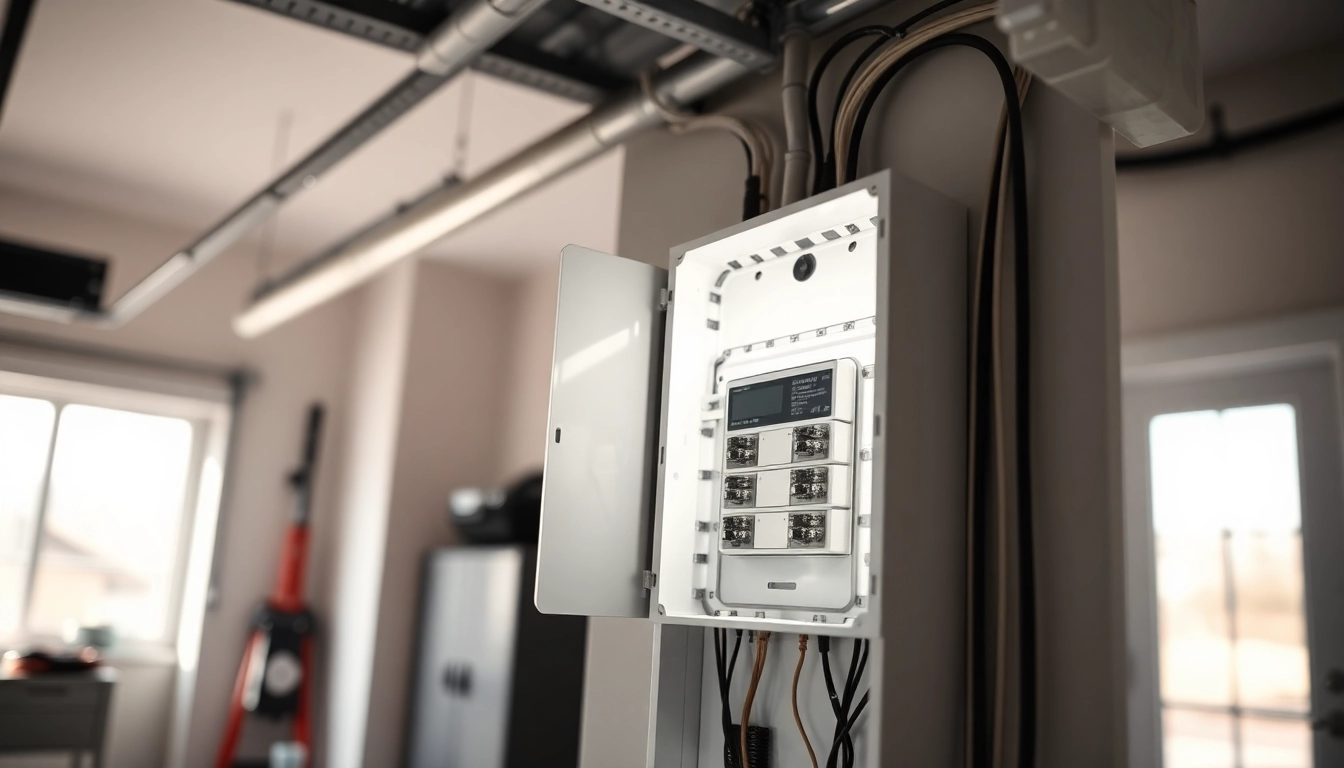
- Electrical Failures: Faulty wiring or malfunctioning components, such as capacitors or relays, can cause your system to stop working altogether.
- Blocked Air Ducts: Dust and other debris can accumulate in ducts, restricting airflow. Regular cleaning can mitigate this issue.
- Compressor Issues: If the compressor fails, the unit will not cool effectively. Recognizing compressor problems early is critical for repair or replacement decisions.
1.3 Signs Your AC Needs Immediate Attention
There are certain indicators that signal your air conditioning unit needs immediate professional inspection. These signs include:
- Insufficient Cooling: If the AC is blowing warm air or only partially cooling the space, it may need to be assessed.
- Unusual Noises: Sounds like clanking, buzzing, or grinding can indicate serious issues that require prompt professional attention.
- Foul Odors: A musty or burning smell can signal problems, including mold growth or electrical issues.
- Moisture or Leaks: Puddles near your AC unit could indicate refrigerant leaks or drainage issues that could lead to further damage.
2. Basic Troubleshooting Steps
If your air conditioning unit is not functioning, you can take several basic troubleshooting steps before deciding to call for professional assistance. These actions may save you time and money.
2.1 Verifying Power and Thermostat Settings
Begin by ensuring that your air conditioning unit is powered. If you have a digital thermostat, replace its batteries if it’s not responding. If settings are all correct and it still isn’t functioning, check the main power switch and circuit breakers for faults. Sometimes, resetting the breakers can resolve the issue.
2.2 Inspecting Air Filters and Ducts
Check the air filters to ensure they are clean and free of blockages. If they are dirty, you may replace them. Assess the ducts and vents for any potential blockages or buildup that might prevent airflow. Remember that regular cleaning and maintenance of both filters and ducts significantly enhances the efficiency of your system.
2.3 Identifying Refrigerant Levels and Leaks
Identifying refrigerant levels can be challenging without proper tools and knowledge. However, if you notice ice forming on your coils or a hissing sound, it could indicate a refrigerant leak. If you suspect this to be the case, it’s best to contact a certified HVAC technician.
3. Advanced Diagnostic Techniques
When basic troubleshooting doesn’t resolve the problem, advanced diagnostic measures may be necessary to pinpoint issues accurately.
3.1 Using Diagnostic Tools for Accurate Troubleshooting
Professional HVAC technicians often use diagnostic tools to assess the conditions of cooling equipment. For DIY enthusiasts, tools like multimeters can help measure electrical output from various components. However, using advanced diagnostic tools requires training; thus, this step is commonly best left to professionals.
3.2 Understanding Error Codes from Your Unit
Many modern air conditioning systems come with built-in diagnostic codes that signal problems. Consult your owner’s manual to decipher these codes, as they can provide immediate insight into the nature of the malfunction.
3.3 Knowing When to Call a Professional
Deciding when to call a technician is crucial in handling AC issues effectively. If you find yourself unable to resolve the problems after basic checks and diagnostics, or if you encounter electrical problems or refrigerant leaks, it is best to consult a qualified HVAC professional. Attempting to fix these issues without the proper knowledge can lead to further damage and liability.
4. Maintenance Tips to Prevent AC Issues
Preventing AC problems through regular maintenance is the most effective approach to ensure optimal performance and longevity of your air conditioning unit.
4.1 Regular Cleaning and Maintenance Practices
Implementing a routine cleaning schedule on your AC unit, including changing air filters every 1-3 months, cleaning condensation drains, and clearing obstructions can help prevent significant malfunctions. You might consider scheduling professional maintenance at least once a year to inspect the system thoroughly.
4.2 The Importance of Seasonal Check-ups
Seasonal inspections by HVAC qualified professionals can highlight potential issues before they become costly repairs. These check-ups typically include inspecting the refrigerant levels, cleaning the coils, checking electrical components, and ensuring that all parts are functioning correctly.
4.3 How Proper Installation Affects Performance
The quality of installation can have a significant impact on your unit’s performance and efficiency. Ensure when installing a new AC system, it’s done following manufacturer recommendations. Improper installation can lead to frequent breakdowns and inefficiencies in energy consumption.
5. When to Replace Your Air Conditioning Unit
Understanding when to replace your air conditioning unit can save you money and ensure comfort, especially with increasing summer demands.
5.1 Key Signs It’s Time for a Replacement
Certain indicators may suggest that it’s time to replace your unit:
- Your AC unit is over 10-15 years old.
- You frequently call for repairs and maintenance.
- The unit struggles to maintain your desired temperature.
- Your energy bills are climbing due to inefficiency.
5.2 Evaluating Cost-Effectiveness of Repairs vs. Replacement
When your AC unit fails, assessing whether repairs or replacement is more cost-effective can be crucial. A common rule of thumb is that if repairs will cost more than half the cost of a new unit, replacement may be the better option. Additionally, consider the energy efficiency of a new model, which could save you money in the long run.
5.3 Benefits of Upgrading to Energy-Efficient Models
Investing in a new energy-efficient air conditioning unit not only improves performance but provides substantial savings in energy bills and enhances overall environmental sustainability. When replacing your AC, look for devices that are ENERGY STAR certified, ensuring a minimum effectiveness requirement set by the EPA.